Bee-Bot: complete guide — what it is, how to use it, and how to make your own mat

Quick summary: Bee-Bot is a child-friendly programmable floor robot used to teach direction, sequencing, problem solving and early coding. Making a mat for Bee-Bot is a low-cost way to create curriculum activities (math, literacy, geography, storytelling) — you only need a design, a printer or print shop, laminator or large-format vinyl, and simple joining/laminating tools. Below: everything step-by-step.
1) What is Bee-Bot? (short answer)
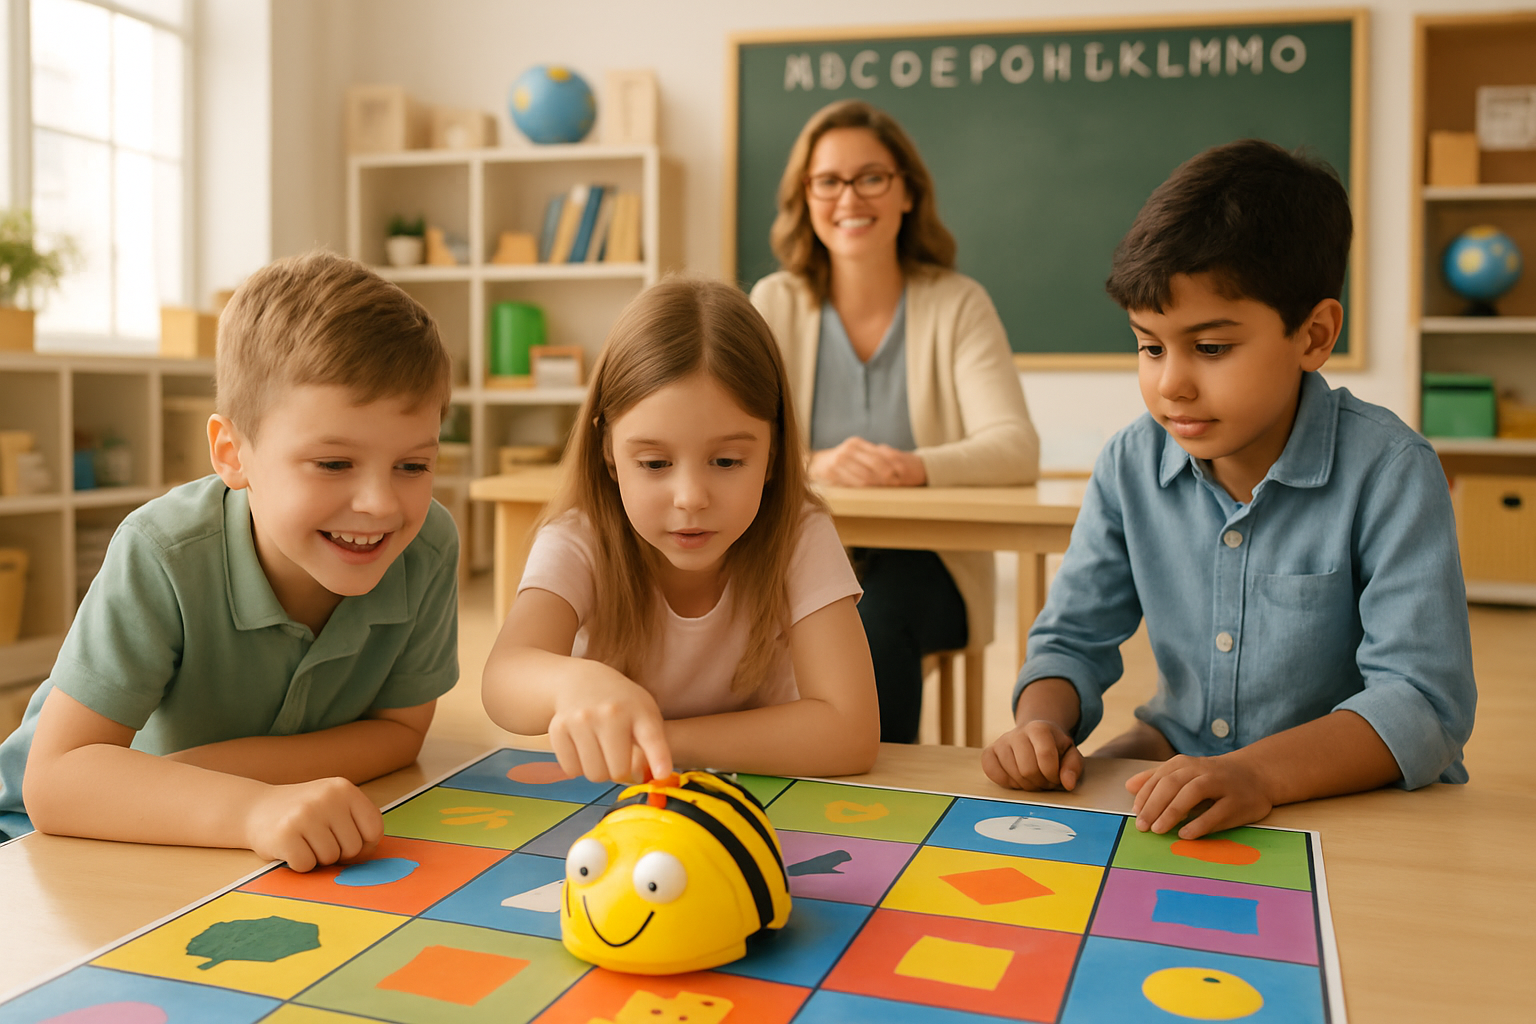
Bee-Bot is a small, durable, yellow programmable floor robot designed for young children (early years / KS1). It’s programmed using the simple buttons on top (forward, back, left, right, clear, go) and is commonly used with themed grid mats (alphabet, numbers, roads, animals) to teach sequencing, directional language, counting, and debugging. Modern models vary in memory and features (some include voice recording, Bluetooth variants like Blue-Bot, and app support). tts-group.co.uk+1
2) Key specs & variants (things teachers ask about)
-
Movement: Bee-Bot moves in fixed steps and turns 90° (ideal grid = square tiles). Many resources use 15 cm (≈6″) squares because that matches typical Bee-Bot step length. tts-group.co.uk
-
Memory & models: Older Bee-Bot models remember ~40 steps, more recent models advertise up to 200+ steps (and some product pages reference higher memory for related robots). Specs depend on model—check your model manual. tts-group.co.uk+1
-
Accessories & family: There are Blue-Bot (Bluetooth/app) and other education robots in the family; many accessories and themed mats are available commercially. tts-group.co.uk
3) Why make your own Bee-Bot mat?
-
Cost-effective vs buying plastic mats.
-
Customisable to your curriculum (local maps, vocabulary, math problems, religious/cultural themes).
-
Teaches design & making skills as a cross-curricular activity (students can design mats as part of the lesson).
-
Can be scaled to any grid (2×6, 5×5, 6×6 etc.) depending on space and lesson goals. Resources and ready-to-download mats are widely available. Teachers Pay Teachers+1
4) Materials & tools you’ll need
Home/School kit:
-
Computer (PowerPoint/Canva/Inkscape/Illustrator) to design the grid.
-
Printer that can print A4 / A3 multiple copies (or access to a print shop for large format).
-
Paper (A4 or A3) or printable vinyl if available.
-
Laminator + A3 laminating pouches (or clear contact/vinyl).
-
Scissors / craft knife / ruler / glue tape or double-sided tape.
-
Non-slip mat or shelf liner underneath (optional).
-
Velcro or gaffer tape to join printed panels.
-
Optional: foamboard or roll-up PVC for a sturdier mat.
Costs vary: A DIY laminated A4-stitched mat is cheap; a large vinyl print from a copy shop costs more but is durable.
5) Design rules: match Bee-Bot movement (the most important bit)
-
Tile size = Bee-Bot step. Standard: 15 cm squares (so one forward press ≈ one square). If you use a different Bee-Bot model, test one press and measure the travel distance and adjust tile size. tts-group.co.uk
-
Grid alignment: Keep clear grid lines and 1:1 square alignment. If you plan to use the Blue-Bot app, square images and consistent proportions are needed (see Terrapin instructions). terrapinlogo.com
-
Contrast & images: Use large, clear icons/text inside each tile so kids can identify targets easily (especially for early years).
-
Edge margin: Add at least a 1–2 cm bleed/margin on panel edges when printing multiple A4 tiles to be joined.
6) Step-by-step: Make a 6×6 (classroom-sized) Bee-Bot mat (example)
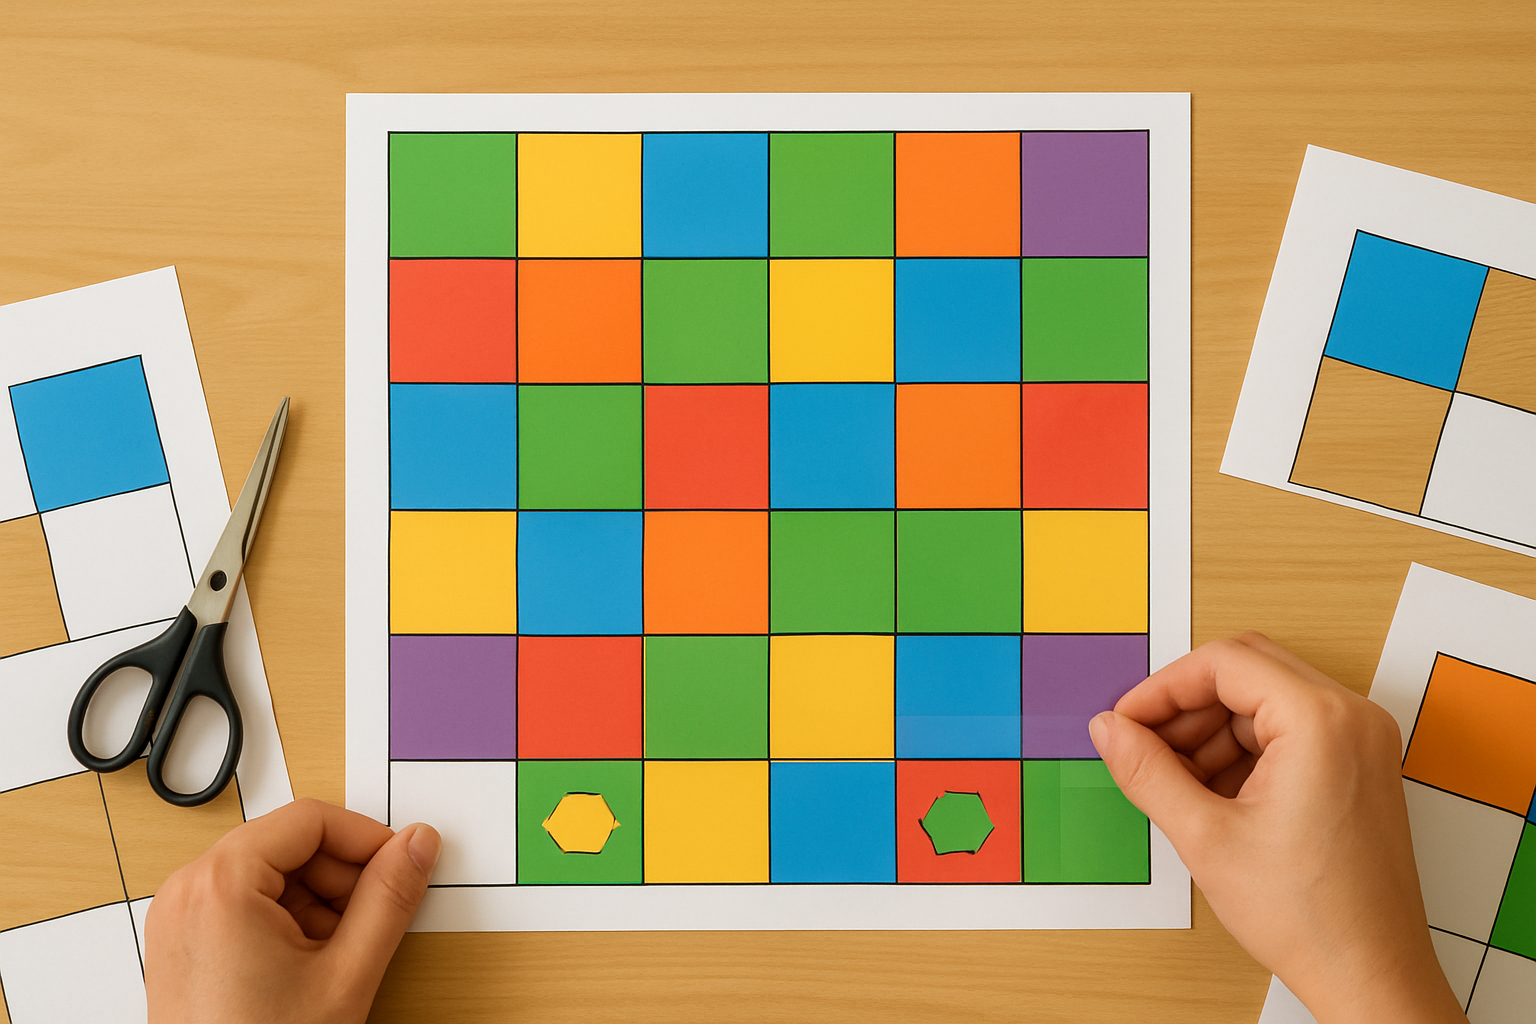
Goal: a 6×6 grid mat with 15 cm tiles — final mat = 90 cm × 90 cm (6 × 15cm).
Time: design 20–40 min + printing/assembly 30–60 min (longer if using print shop).
Design (digital)
-
Open PowerPoint / Canva / Inkscape. Create a custom canvas of 900mm × 900mm (or in pixels: 3543 × 3543 px at 100 dpi; but for printing choose 300 dpi). If you’ll print on multiple A4s, set A4 size and create a grid that divides into A4 page tiles.
-
Draw a 6×6 grid. Set each square to 150 mm × 150 mm (or 15cm). Add a 5–10 mm interior padding for text/icons.
-
Add content: numbers, letters, pictures (alphabet, animals, map points, math problems). Use clear fonts (large, sans serif) and consistent imagery.
-
Add an instruction/header area (optional) and a small legend. Save as PDF or high-res PNG.
Printing (options)
-
Home printer (many A4 sheets): slice the design into A4 pages (PowerPoint does this naturally if you create A4 slides) and print multiple sheets.
-
Copy shop / large format print: upload PDF and ask for 900mm × 900mm vinyl or laminated poster print for durability (recommended for heavy classroom use).
-
Bonus: For app use (Blue-Bot), download the square version per provider instructions — Terrapin recommends square mats for Android. terrapinlogo.com
Assembly (DIY A4 approach)
-
Trim white margins if needed. Lay out printed A4 sheets on a smooth floor to check alignment.
-
Use clear tape (back) or double-sided tape to join sheets together. For durability, glue to a foamboard backing or adhere to a roll of craft vinyl.
-
Laminate the joined mat (use large-format laminator) or individual A4 laminating pouches then join—laminate makes it wipeable and robust.
-
Add non-slip underlay or a few adhesive non-slip pads to keep it steady on the floor. Test Bee-Bot over the whole mat to ensure step alignment and turn accuracy.
7) Quick test checklist (before class)
-
Does one forward press move the Bee-Bot exactly one square? (If not, adjust tile size.)
-
Do 90° turns align neatly with grid lines?
-
Are icons readable from standing height?
-
Is the mat non-slip and flat?
-
Batteries charged / Bee-Bot responding to commands? (Charge via USB if required.)
If the robot overshoots/undershoots by a bit, you can slightly change tile size for future prints or add visual offset markers for kids to compensate.
8) How to program Bee-Bot (basic teacher script)
Buttons on Bee-Bot / basic flow:
-
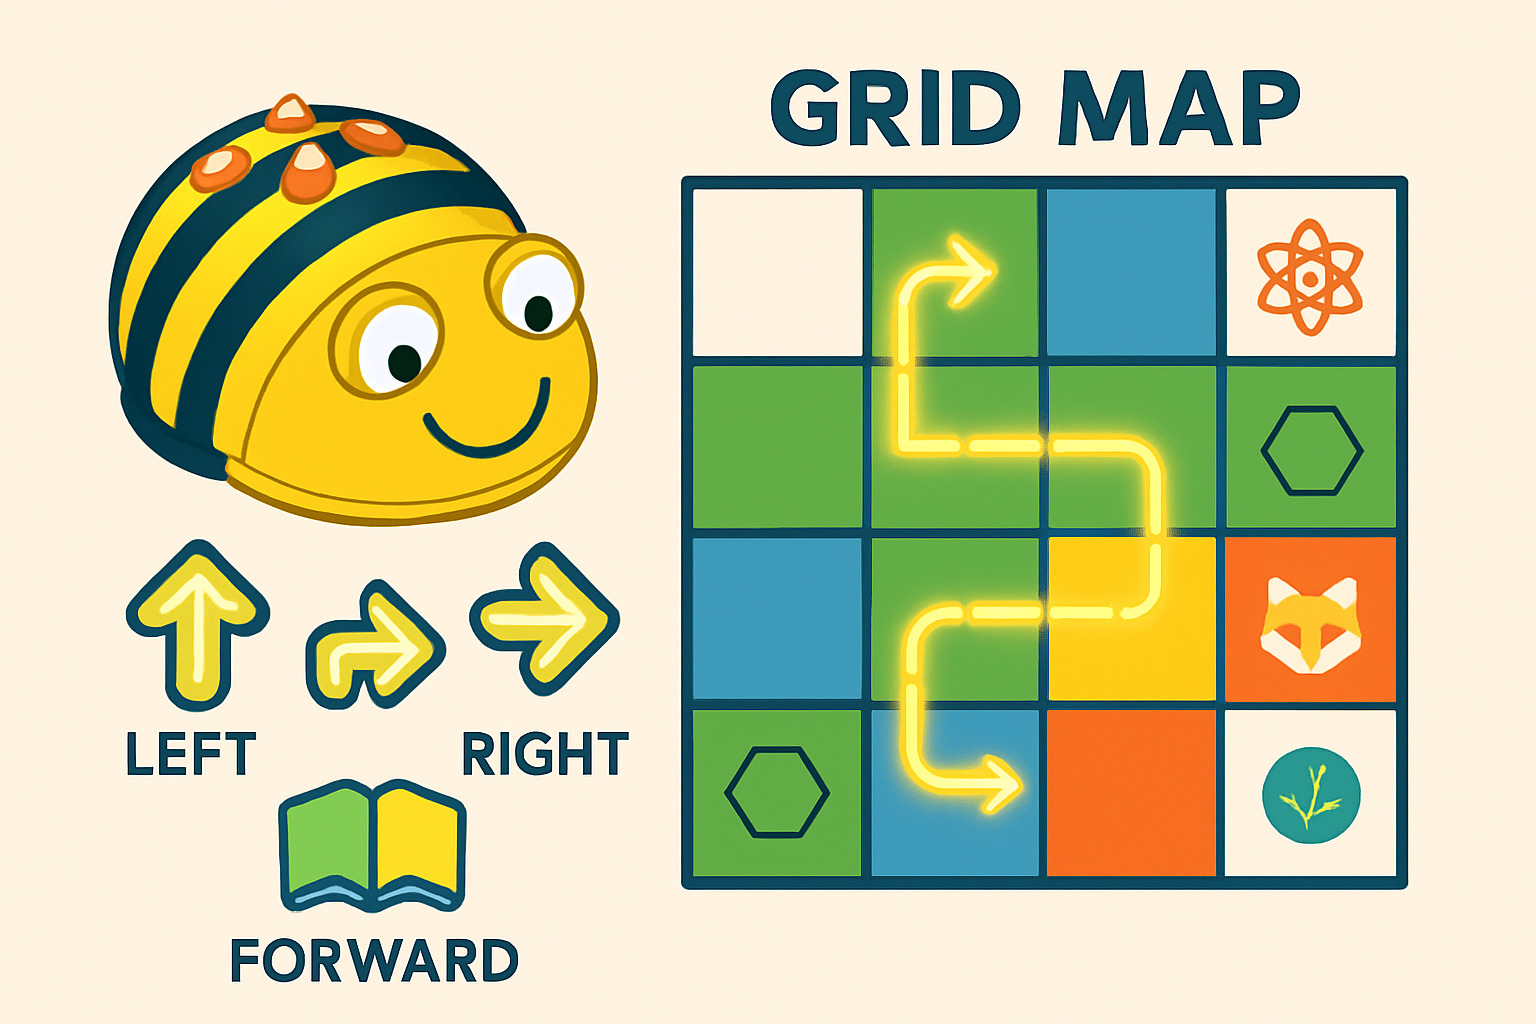
Forward (▲) — moves one grid square forward per press.
-
Back (▼) — one square back.
-
Left (↶) / Right (↷) — turn 90° left/right per press.
-
Clear — reset memory.
-
Go — executes stored sequence.
Example task: Move Bee-Bot from tile A2 to C4
-
If starting facing “north” on A2, required commands might be: Forward, Forward, Right, Forward.
-
Teacher model: Have kids plan sequence on whiteboard, enter buttons, press GO, observe. If Bee-Bot is off by one, debug (clear, check starting orientation).
Sample program snippet (human):
For Blue-Bot (Bluetooth) you can use the app to input commands, save routines, or simulate first. tts-group.co.uk+1
9) Lesson ideas & activity bank (age 3–8)
A. Early Years — Direction & Counting
-
Number mat race. Pupils program Bee-Bot to travel to the correct number (math target).
-
Alphabet hunt. Program to letter tiles to spell simple words.
B. KS1 — Problem solving & sequencing
-
Treasure map. Design a town map; program Bee-Bot to go from home to the shop using directions.
-
Debugging challenge. Teacher creates a wrong program; students fix it.
C. Cross-curricular
-
History timeline. Each square = event; program Bee-Bot to follow chronology.
-
Science lab. Bee-Bot carries (light) object to correct habitat tile.
D. Collaborative & competitive
-
Team sequences. Pairs design and test; score for shortest correct program.
-
Relay mapping. One team gives instructions from afar to another executing team.
Many ready-made lesson packs and challenge cards exist (downloadable resources & free PDFs). tts-group.co.uk+1
10) Differentiation, SEN & assessment
-
Easier: reduce grid to 2–3 columns, use pictures instead of text.
-
Challenge: use obstacles (blocks), conditional sequences (e.g., if Bee-Bot on blue tile then turn).
-
SEN: use large clear visuals, voice instructions, pupil-paired support and tactile markers. Bee-Bot also supports recorded audio on some models for accessibility. tts-group.co.uk
Assessment ideas:
-
Observe a learner completing a 4-step program independently.
-
Use success criteria (plans a path; inputs sequence; debugs once).
-
Have learners reflect: “What went wrong? How did you fix it?”
11) Care, charging & classroom management
-
Charge Bee-Bot via supplied USB cable. Newer models use docking station options. Keep spare chargers. tts-international.com+1
-
Wipe with a damp cloth; avoid water ingress.
-
Store with wheels clean; keep in a dedicated box and label.
-
For large classes, rotate groups and have challenge cards ready to keep learners engaged.
12) Where to get mats, templates & teacher packs (useful links)
-
TTS Bee-Bot (official product page & teacher downloads): product, manuals, lesson packs and PDF downloads. tts-international.com
-
Terrapin (Bee-Bot / Blue-Bot mats & mat downloads): free downloadable mats, app guidance and online emulators. Useful for adding mats into the Blue-Bot app. terrapinlogo.com+1
-
Pitsco / Bee-Bot packages & user guides: starter packages and teacher guides. Pitsco Education
-
Twinkl / TeachersPayTeachers / Pinterest: many free and paid printable mats and activity packs (alphabet, math, themed mats). Use search terms “Bee-Bot mat printable” on those sites. Twinkl+1
-
Free classroom activity PDFs (example): Bee-Bot activities PDF packs from education/STEM bodies — good for lesson inspiration. STEM Action Center+1
13) Quick classroom starter lesson (30 min)
Objective: Program Bee-Bot to navigate from START to TREASURE using at most 6 commands (counting & direction).
-
5 min — Intro & demo: show Bee-Bot moves one square, 90° turns. (Teacher demo) tts-group.co.uk
-
5 min — Pupils design path on whiteboard (partners).
-
10 min — Enter program & press GO; observe results. Debug if needed.
-
5 min — Reflect: What worked? What needed fixing?
-
5 min — Extension: shortest program wins.
14) Troubleshooting tips
-
Bee-Bot doesn’t move accurately: check floor surface (must be flat), clean wheels, test step distance and adjust tile size on next print.
-
Buttons not responding: check battery/charging, reset (clear memory), consult manual. tts-international.com
-
Turns off mid-task: battery low — keep spares and a charging schedule.
15) Licensing / copyright & sharing tips
-
If you use commercially sold mats/templates, check their licensing (some are for classroom use only). For classroom sharing, prefer your own created mats or freely licensed printables. Sites like Twinkl and TeachersPayTeachers provide usage info per resource. Twinkl+1
16) Ready-to-use checklist (copy/paste for your lesson plan)
-
Bee-Bot charged & tested
-
Mat printed/assembled (15 cm tiles)
-
Non-slip underlay in place
-
Challenge cards printed & laminated
-
Clear learning objective displayed
-
Reflection sheet for pupils
17) Useful downloads & resources (one-line links)
-
TTS Bee-Bot product + downloads (manuals & lesson packs). tts-international.com
-
Terrapin mat downloads & online Bee-Bot emulator. terrapinlogo.com
-
Pitsco Bee-Bot starter packages & guides. Pitsco Education
-
Teacher activity packs & printables (TeachersPayTeachers / Twinkl). Teachers Pay Teachers+1
-
Free lesson PDF collections (STEM / regional education boards). STEM Action Center+1
18) Final tips & next steps
-
Start simple (2–3 step challenges) and increase complexity.
-
Let pupils design mats as a maker activity — that’s great cross-curricular learning (art + design + computing).
-
Consider upgrading to Blue-Bot if you want app control, Bluetooth functionality and easier saving of programs. tts-group.co.uk
🪄 Free Download: Bee-Bot 6×6 Mat Template (PDF)
We’ve designed a ready-to-print Bee-Bot mat template that follows the official 6×6 grid standard with 15 cm tiles per square — ideal for both educational and creative play.
📥 Download your free Bee-Bot Mat PDF here:
👉 Click to Download Bee-Bot 6×6 Mat Template (15 cm tiles)
You can print it on A4 or A3 sheets and join them together for a classroom-sized mat.
🧠 People Also Ask
1. What is a Bee-Bot used for?
A Bee-Bot is a programmable educational robot designed to help young children learn coding, sequencing, and spatial awareness through interactive play. It’s mainly used in classrooms for STEM and early robotics education.
2. How big is a Bee-Bot mat?
A standard Bee-Bot mat has 6×6 squares, with each square measuring 15 cm × 15 cm — perfect for the Bee-Bot’s movement range and alignment.
3. How do I make my own Bee-Bot mat?
You can make a Bee-Bot mat by printing a free 6×6 grid PDF, cutting, and assembling it with tape or lamination. Each tile can be customized with images or letters for themed lessons.
4. Where can I download a Bee-Bot mat template?
You can download a free printable Bee-Bot 6×6 mat (15 cm tiles) in PDF format from blog.medihertz.com.
5. How do kids use a Bee-Bot?
Children press directional arrows on the Bee-Bot’s back to program movement sequences. Once entered, pressing “GO” makes the Bee-Bot move step-by-step according to their commands.
6. Is Bee-Bot good for early learning?
Yes, Bee-Bot helps children develop logic, sequencing, collaboration, and problem-solving skills—essential foundations for future STEM learning.
7. Can I customize the Bee-Bot mat for different subjects?
Absolutely! You can design themed mats for math, geography, spelling, or storytelling to make learning interactive and fun.
Read More
- How to Use Member Count Bot on Discord
- What is the Difference Between AI and Generative AI?
- What is the first step to start SEO?
- How to Disable AI on Your Phone
- How to Invest in AI’s Next Phase: A Comprehensive Guide
- What is Gen AI in layman’s terms?
- How to Use AI Bot on Discord Introduction
- How to Request to Go Live on TikTok
- How to Use Probot for Music
- How to Invite Dyno Bot to Discord
- What Does the Green Dot on Snapchat Profiles Mean?
- What is the Difference Between GPT and Claude?
- How to Invite Probot in Discord
- What is the Best Way to Use Claude AI?
- AI Content Generators : Are They the Future of SEO?
- AI Intelligence Evolution: From Humanoids to the Future of Artificial Intelligence
- How to Download Songs on Spotify :Step-by-Step Guide
- TikTok Shutdown in the U.S.: What It Means, Why It Happened, and What’s Next
- Is Janitor AI Safe to Use?
- Comparing AI Chatbots: ChatGPT, Claude, Perplexity, and DeepSeek
- Exploring Janitor AI Alternatives: A Comprehensive Guide
- Qwen 2.5:Unique Features That Make It Stand Out in the AI Landscape
- How to Access Qwen 2.5: A Comprehensive Guide to Unlocking Advanced AI Capabilities
- Step-by-Step Guide to Buying DeepSeek Stocks
- Is Claude Better Than Janitor AI? A Comprehensive Comparison
- Can I create my own bot?
- How to Learn Thumbnail Designing: A Comprehensive Guide
- The Future of Pi Coin: A Comparative Analysis with Bitcoin and Other Cryptocurrencies
- How to Claim a Business on Google in Few Easy Steps – 2025
- Unlocking the Power of Rich Snippets: How a Rich Snippet Validator Can Enhance Your Results
- 10 Best Janitor AI Alternatives for Roleplay, Chat, and More (Free & Paid)
- Can You Get Banned for NSFW on Character AI? A Detailed Guide
- Why Won’t My Embedded Video Play in PowerPoint? Problem-Solving Guide
- Understanding Bing AI Image Restrictions: A Guide to Responsible Use
- How Does AI Dungeon Multiplayer Work? A Detailed Guide
- 10 best AI alternatives to Character AI for NSFW content
- How to Download Chai AI on PC: A Step-by-Step Guide
- Do People Read Blogs Anymore? The Evolution of Content Consumption and Best Alternatives
- Rich Snippet Validator: What It Is, Its Uses, Benefits, and a Free Tool to Get Started
- What is Chai AI? Is Chai AI Better Than Character AI?
Free Ai Tools
- WEBP to JPEG – Convert image for free
- Website Speed Checker Tool
- SEO Word Counter with Character Count
- Free Stopwatch and Online Timer Countdown
- Age Calculator Tool
- Password Generator Tool
- Qr Code Generator Free
- AI Story Generator Tool
- Blog Title Generator Tool [FREE]
Medihertz free AI Tools
- Love Percentage Checker Tool – Check For Free!
- Soulmates Initial Finder
- Hz Frequency Generator- Free Online Tone Generator
- Mental Health Check In Tool [ FREE TEST ]
- Best Free Phone Photos Download
- Image Converter (Online & Free)